To begin with the installation of TestNG plugin for Eclipse, you need to launch Eclipse IDE and then follow these steps.
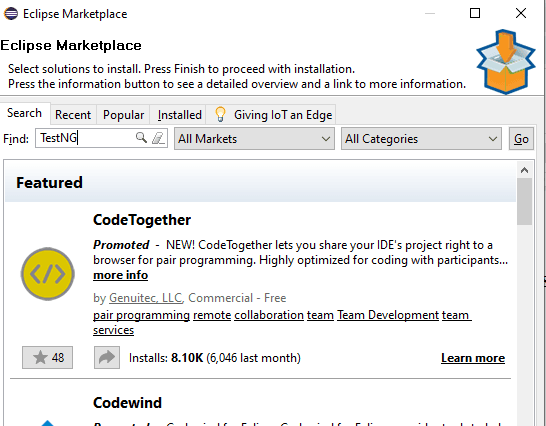
Step #1: Once Eclipse is launched, click on Help and then Eclipse Marketplace.

Step #2: A new window would open up, wherein you need to type “TestNG” in the Find text box and click on the Go button.
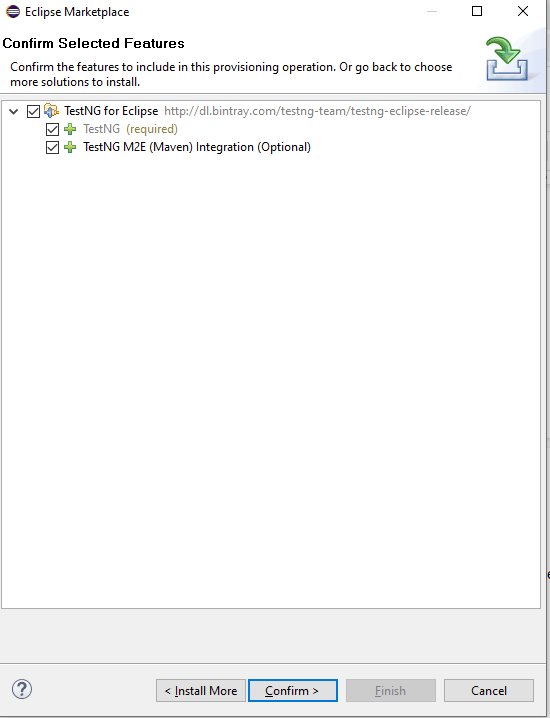
Step #3: You will now see the search results with TestNG for Eclipse at the top. All you need to do now is click on the Install button next to it.

Step #4: Resolving of features might take up a few minutes after which you need to verify that the checkbox for TestNG is checked and click on the Confirm button.
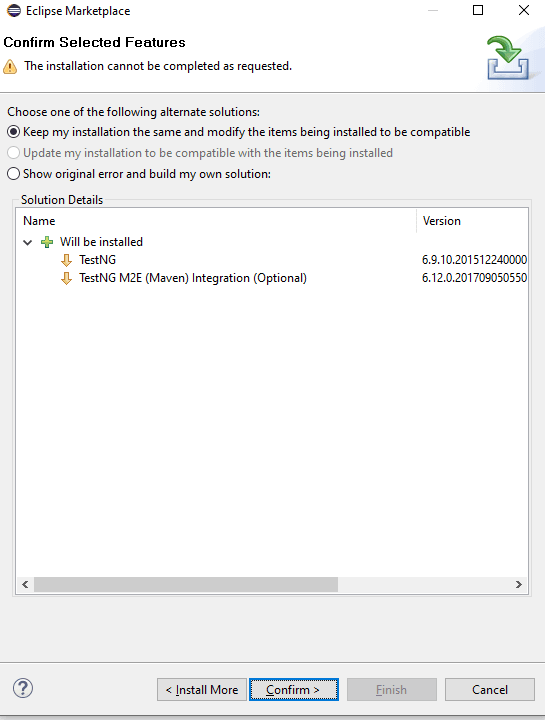
Step #5: Select “Keep my installation the same” option and again click on the Confirm button.
Step #6: Accept the license and click on the Finish button.

Note: For the change to be effective, you will have to restart Eclipse and you will now be able to see TestNG installed by right-clicking on any project and seeing TestNG in the menu options.

Answer source: Guide to install TestNG in Eclipse
